Assignment Settings
You can set the settings of an assignment when creating or editing an assignment by following the next steps.
❗Note: Once you save the settings for one assignment, the same settings will be applied to all subsequent assignments created during the session.
❗Note: Settings can’t be modified once the assignment is assigned.
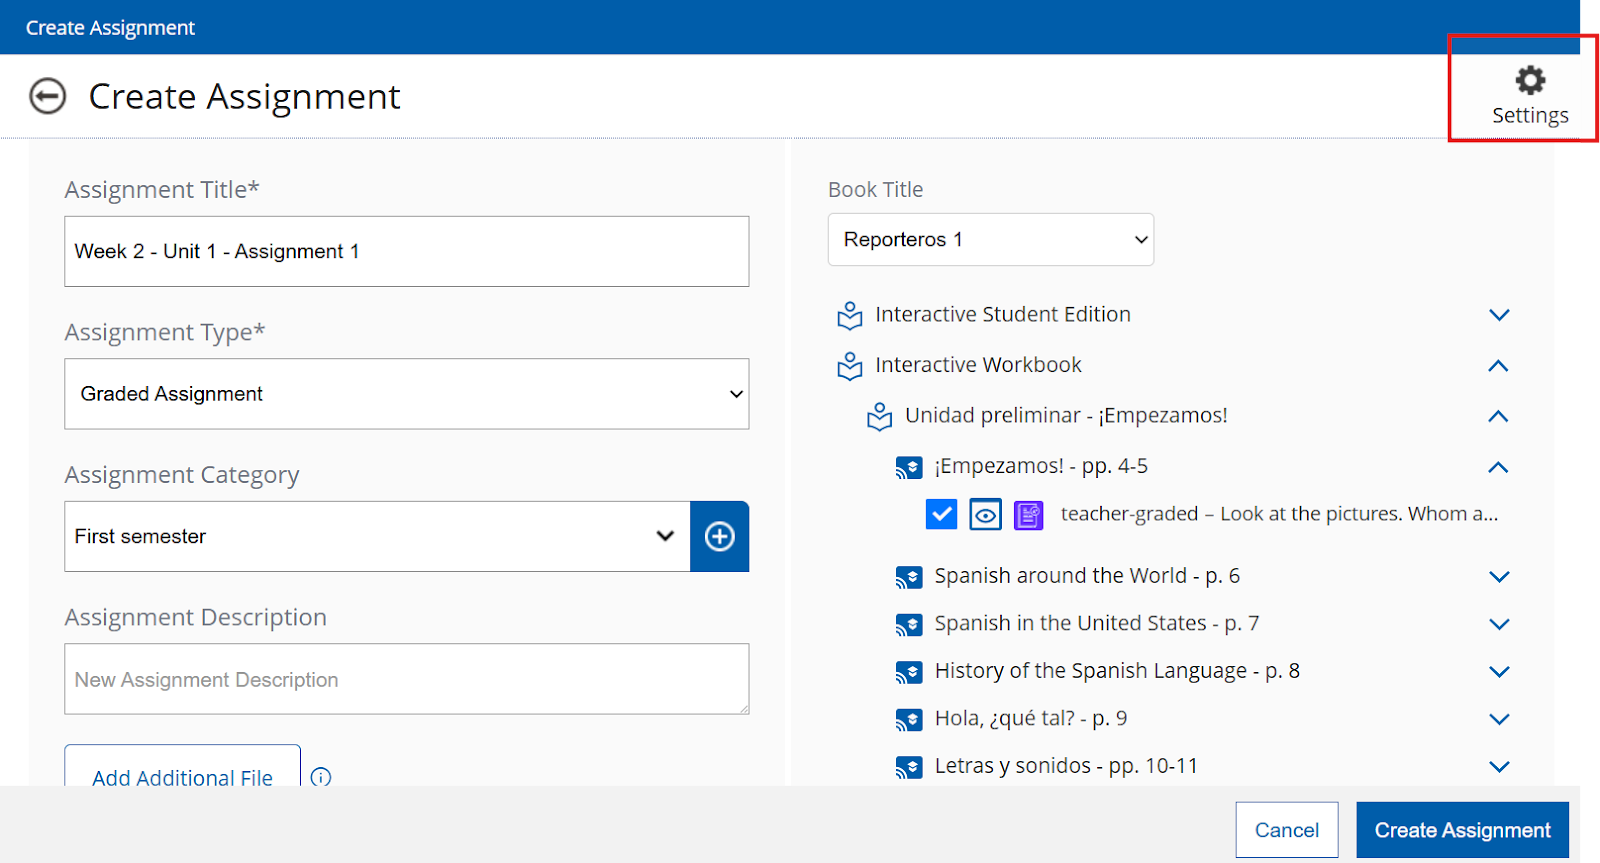
Click on the ⚙️ gear icon on the upper right-hand corner when creating or editing an assignment.
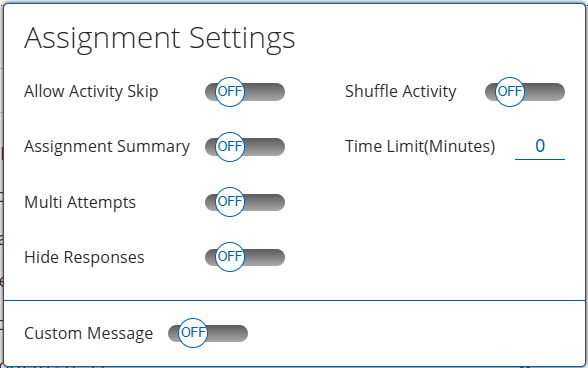
In the "Assignment settings" menu, you can activate the next options:
![]()
This is how the Allow Activity Skip option is displayed for students:

![]()
Multi Attempts: Enabling this option will allow students to have as many attempts as you type in the Attempts Allowed field.
![]()
Students will be able to see the number of attempts on the lower left-hand corner. Once they have answered all the questions, they will have to click on the “Validate” button.
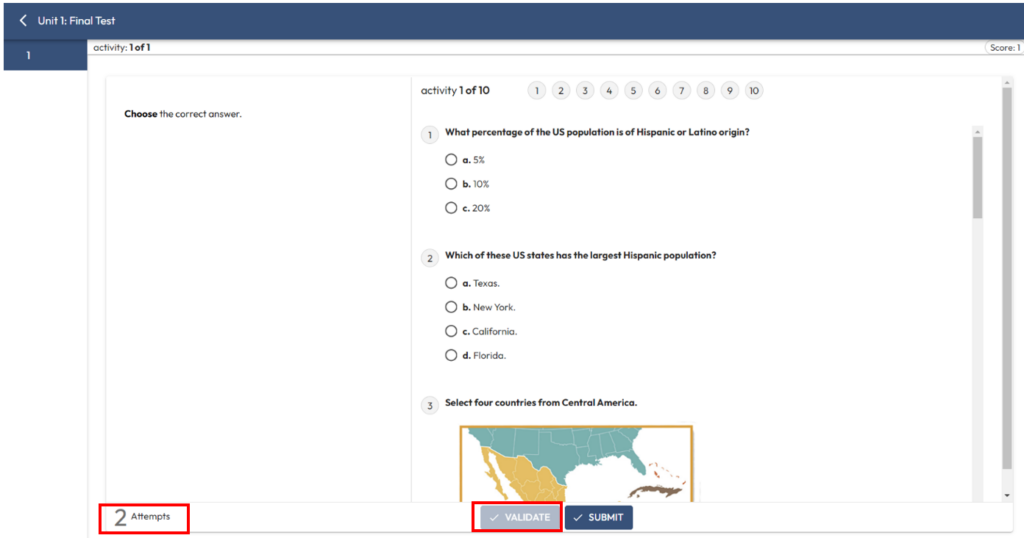
After clicking the "Validate" button, students will receive feedback on their first attempt and will be able to change any incorrect answers before clicking the "Submit" button to submit the assignment. Bear in mind that once the assignment is submitted, students will not be able to redo it, even if they had remaining attempts.

Shuffle Activity: Enabling this option will present the activities in a shuffled order.
Time Limit (Minutes): Students will have as many minutes as you establish for the assignment.
Custom Message: Enabling this option will allow your students to see your customized message based on the grade range you set. Click on "+New Message" to add as many messages as needed. The ranges must be ordered from 0 to 100. You can also click on the "X" to remove the messages.
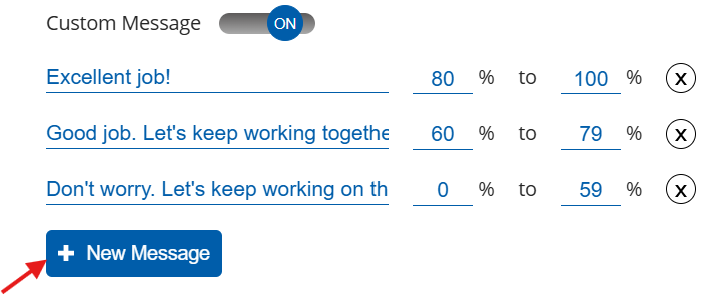
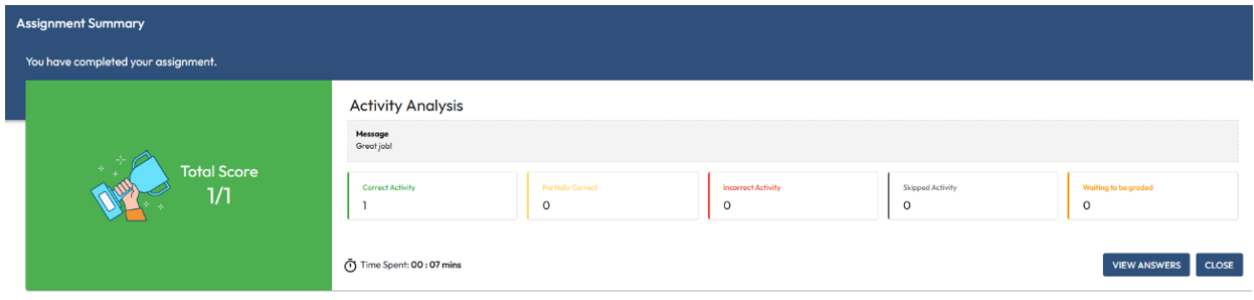
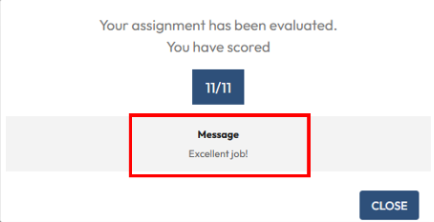
Students will be able to see your feedback according to their score once they have submitted their assignment. In this example, the message "Excellent job!" is the feedback sent to students who score between 80% and 100%.
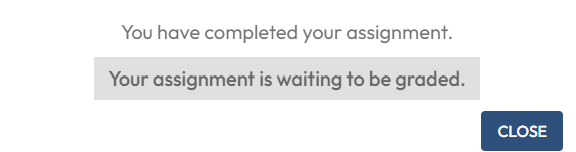
When students submit the assignment, they will see the next message:
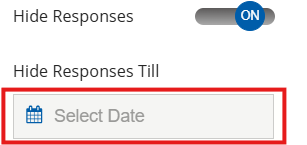
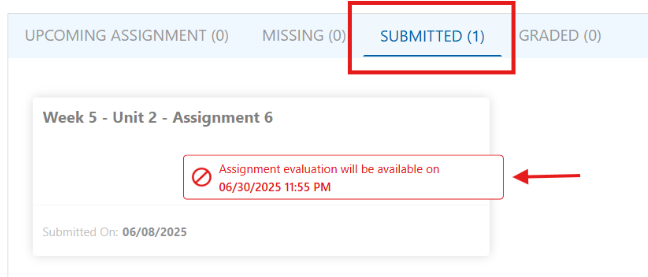
For students, the assignments will appear in the Submitted section, rather than the Graded section. When hovering over a the assignment, they will see a message indicating the date after which the assessed assignment will be available to view.
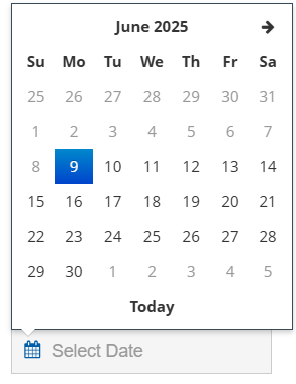
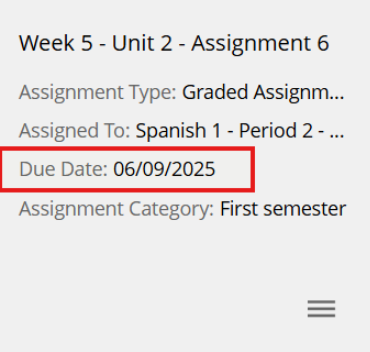
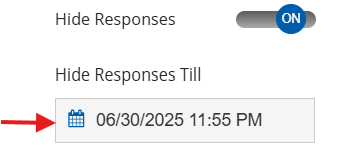
❗Note: Bear in mind that students will only be able to view their graded assignment after the selected date when enabling the hide responses option. If the due date of the assignment is prior to this date, the students won't be able to see the assignment. In the next example, the due date is June 9th, however students can't view the assignment because the selected date for them to view the assignment is June 30th.
Need help? ![]()
Remember, you can contact us this support form. We are here to help!
Related Articles
Assign/Unassign an Assignment - The KWL Hub
https://support.thekwlhub.com/en/articles/225-assign-unassign-an-assignment Assign an Assignment Once an assignment has been created, the teacher needs to assign it to their Class(es), Student(s), or Group(s). ❗ Note: If the assignments are not ...Creating a New Assignment in the KWL Hub
https://support.thekwlhub.com/en/articles/223-create-a-new-assignment There are two ways of creating assignments: from the "Assignments" section and from the Interactive Content: Creating Assignments from the "Assignments" Section Creating ...Teacher Guide: The KWL Hub and Canvas
Accessing the KWL Hub via Canvas Creating assignments with Canvas (Deep Linking) Importing Grades into Canvas Accessing the KWL Hub via Canvas 1. In Course Navigation, navigate to the Assignments tab. 2. Click on the assignment title "KWL Hub" or ...Teacher Guide: Accessing The KWL Hub via Moodle
https://support.thekwlhub.com/en/articles/173-how-to-access-the-kwl-hub-via-moodle Enabling the KWL Hub app in your course 1. Log into Moodle with your Teacher user credentials. Navigate to the course in which you would like to use the KWL Hub ...Teacher Guide: Accessing The KWL Hub via Google Classroom
https://support.thekwlhub.com/en/articles/15-how-to-access-the-kwl-hub-via-google-classroom Overview This guide for teachers describes how to sync your classes between Google Classroom and The KWL Hub. Prerequisites: Your school must have an active ...