Assign/Unassign a Book to a Class
Assign a Book to a Class
If your district/school is using an integration tool on the KWL Hub (such as Clever, ClassLink, Google Classroom, etc.), teachers can assign book(s) to their own classes using the "Assign Books" feature. Assigning a book to a class enables the students rostered in that class to access the book and complete their assignments.
Follow the steps below to assign a book(s) to your class(es).
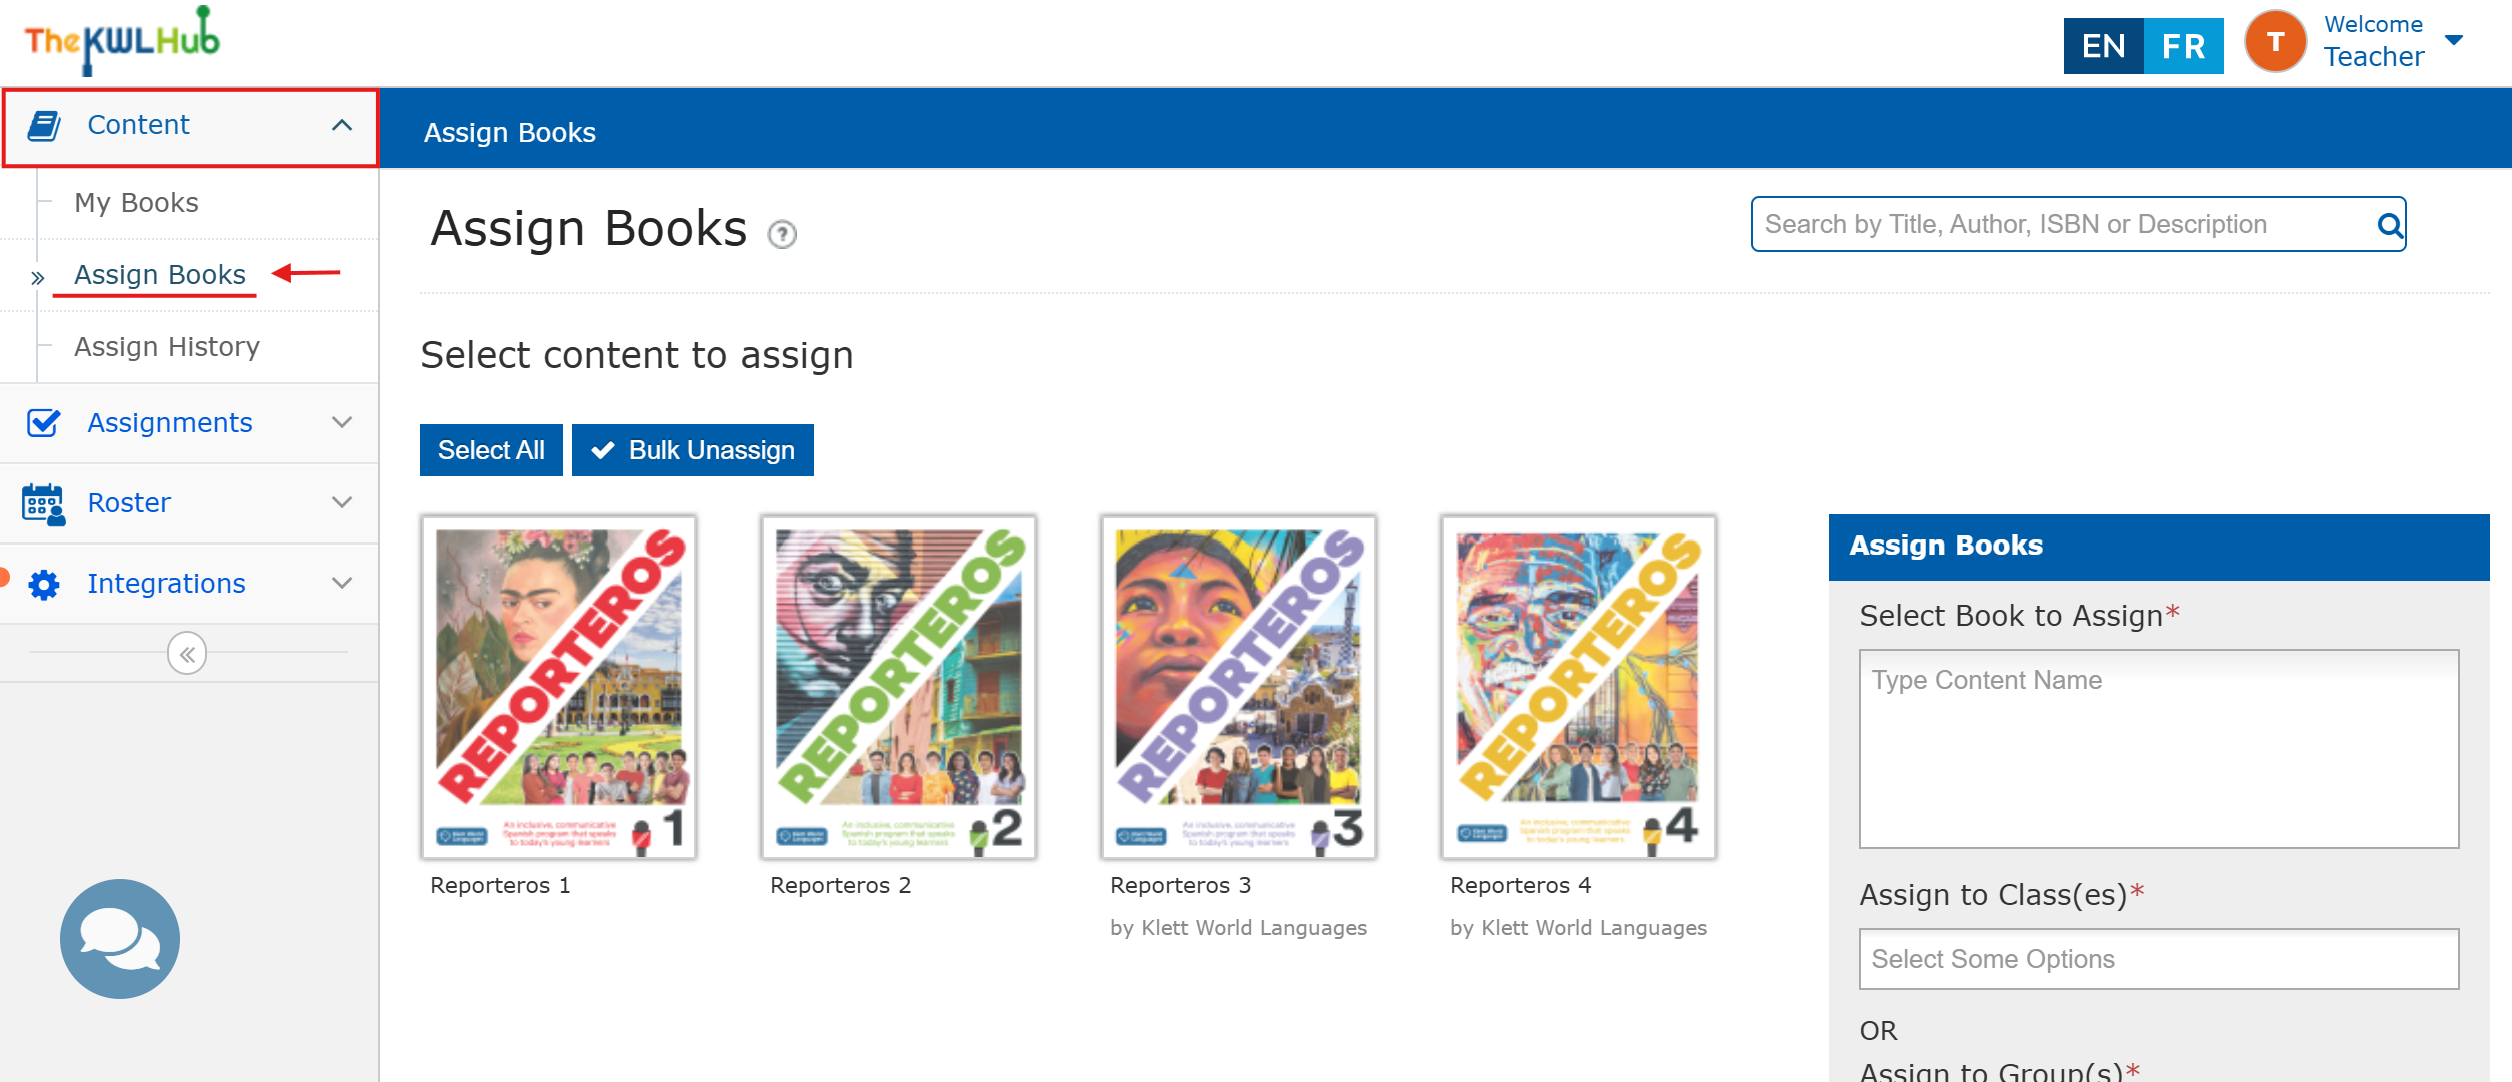
1. Navigate to "Content."
2. Click on "Assign Books."
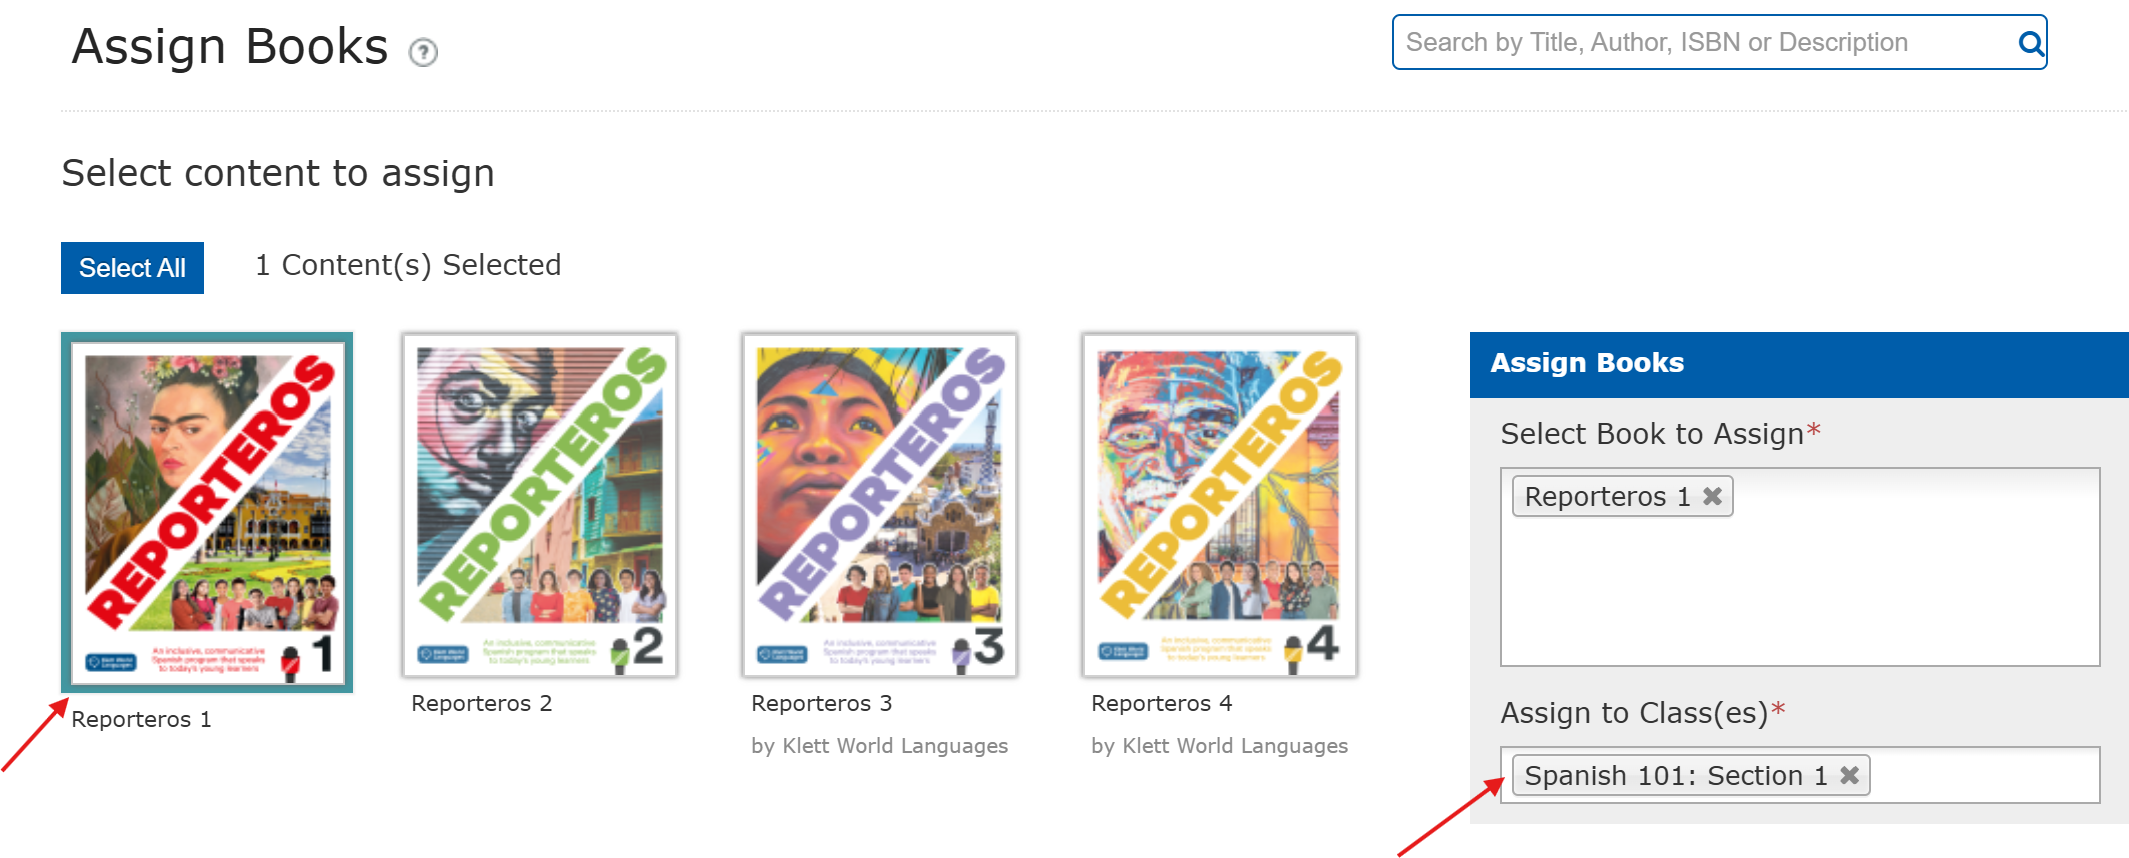
2. Select the book you'd like to assign to your Class(es) by clicking on it. In the Assign Books box on the right, select the class(es) on the list from your roster. You can select multiple classes to assign the book to all sections of a class.
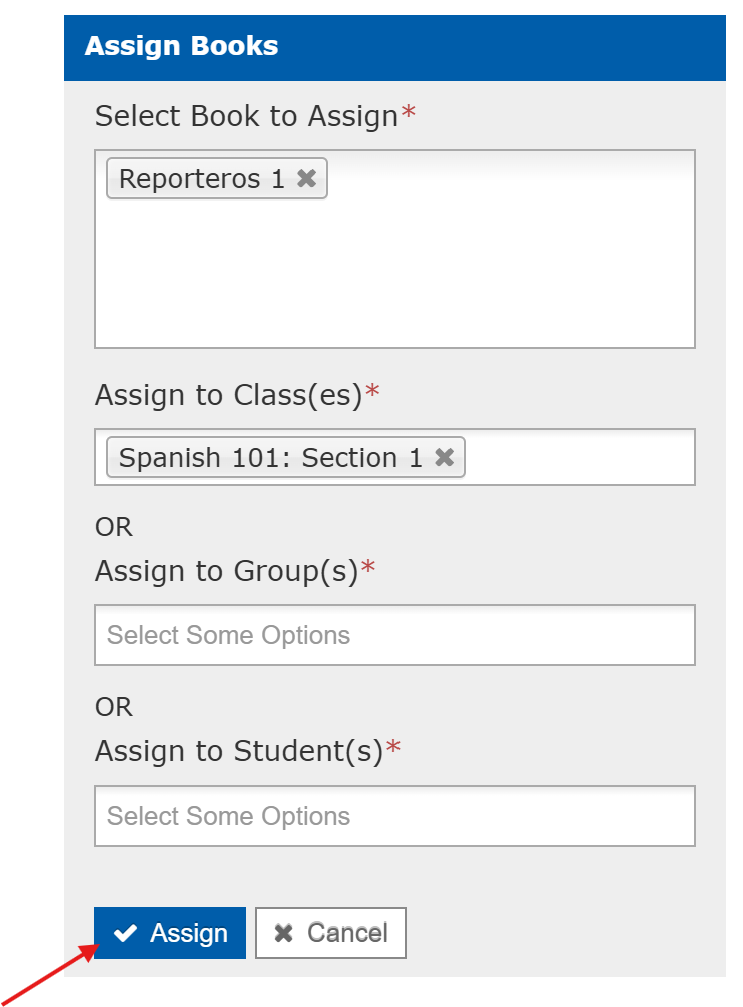
3. Confirm the book level and class(es) are correct, then click "Assign."
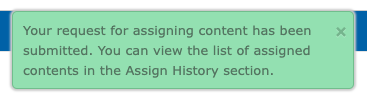
As confirmation, you will see the following message: "Your request for assigning content has been submitted." Your students will now be able to see the book in My Books when they log in.
⚠️ Note: If you receive the error message "You have already exhausted the maximum of users to which this content can be assigned," contact your school/district admin for assistance, as all licenses have been used.
Unassign a Book to a Class
After assigning a book to a class or specific student, teachers can view their Assignment History to unassign a book to a class. See instructions below.
1. Navigate to "Content."
2. Click on "Assign History."
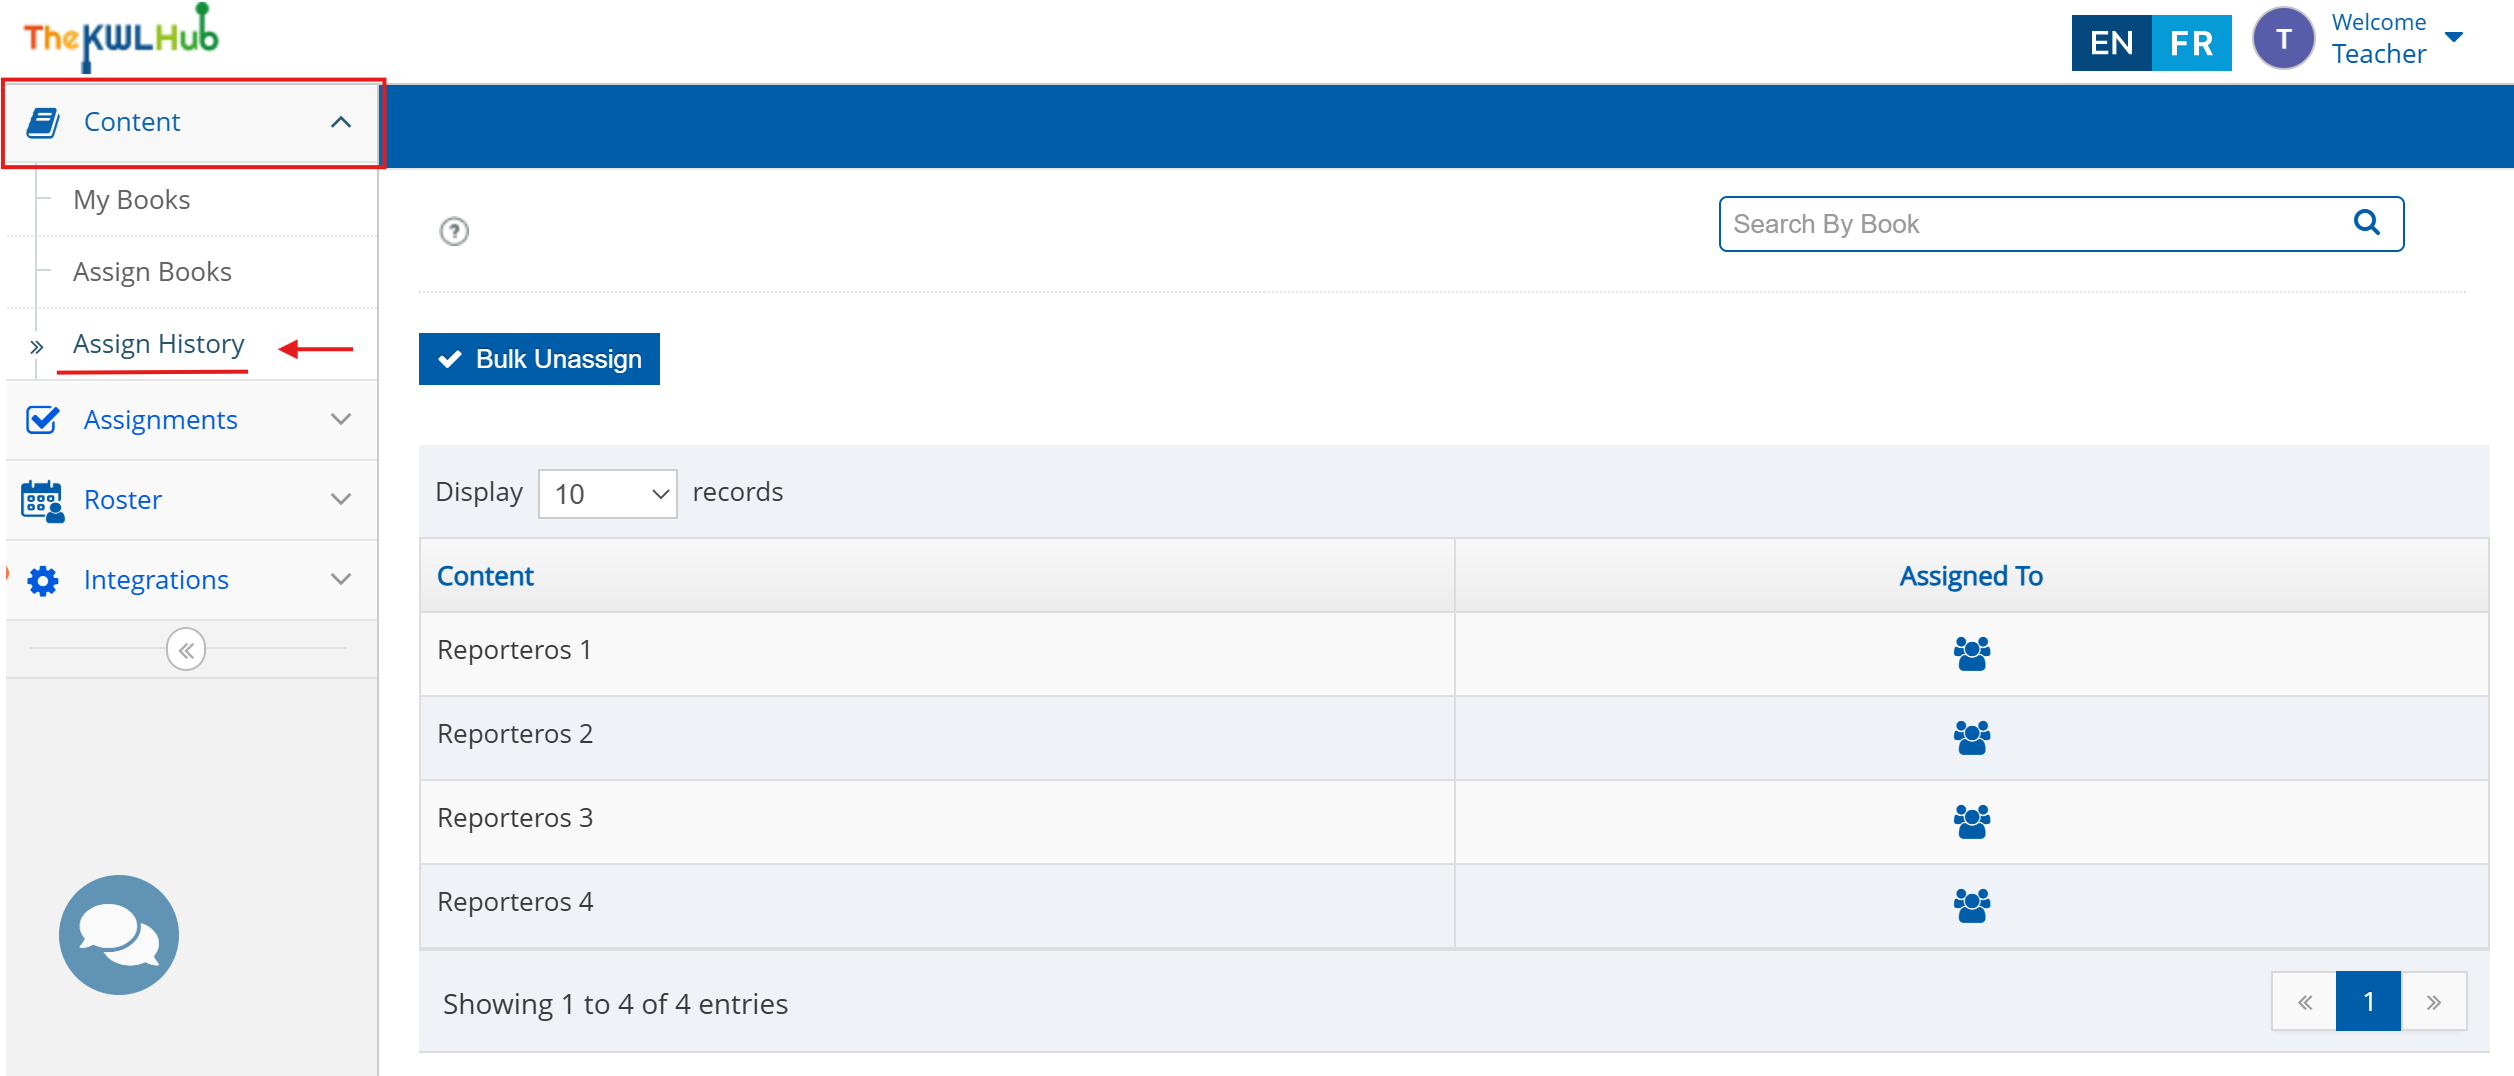
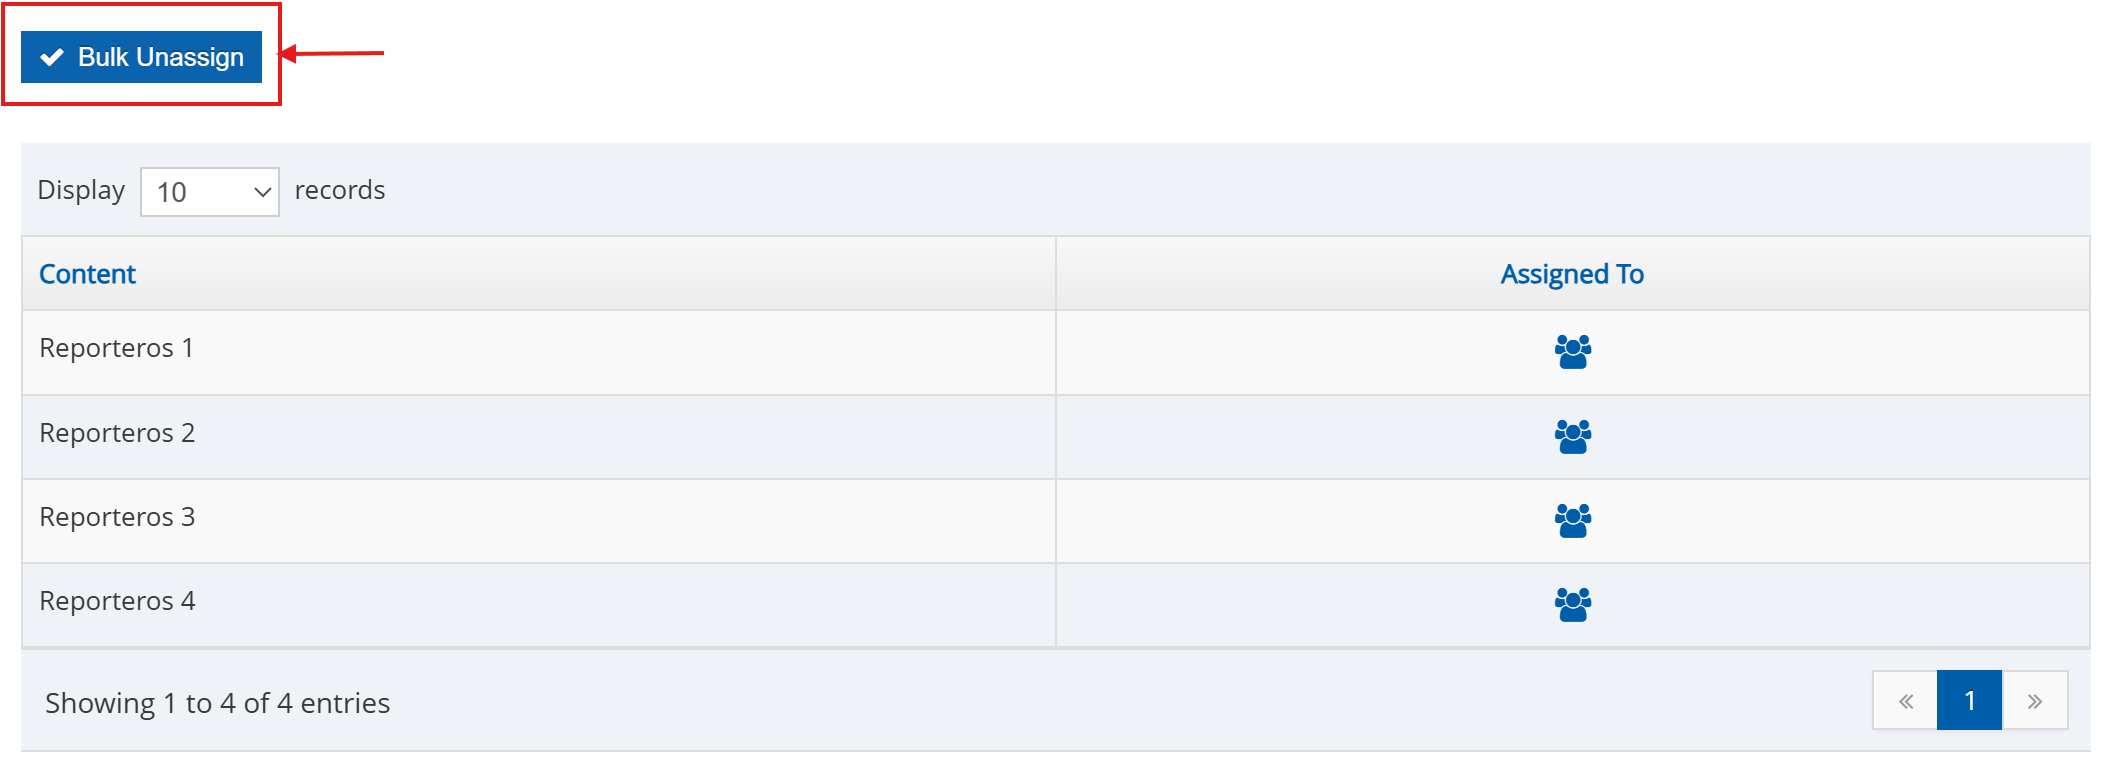
3. On this page, you can see what book(s) you've assigned and to which classes. Click "Bulk Unassign" to unassign content.
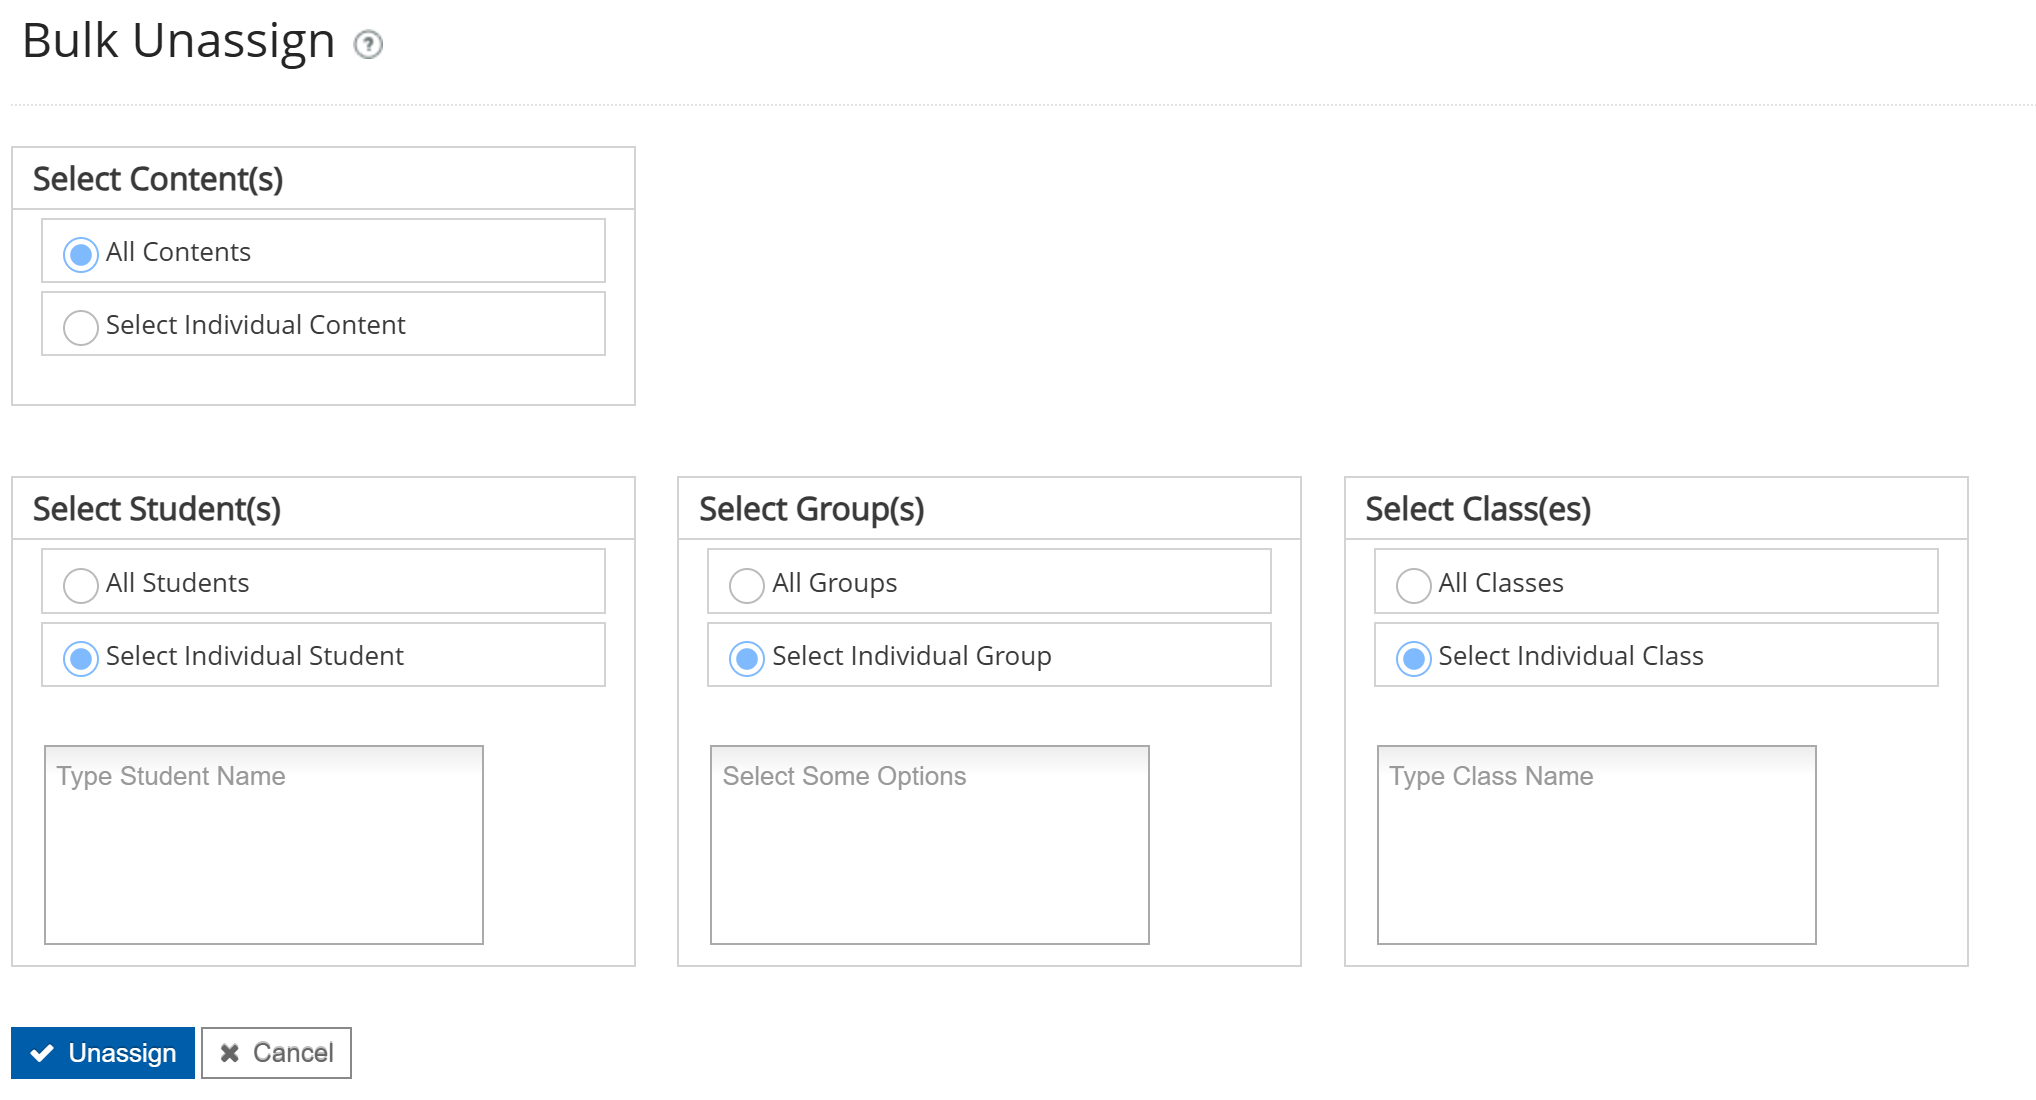
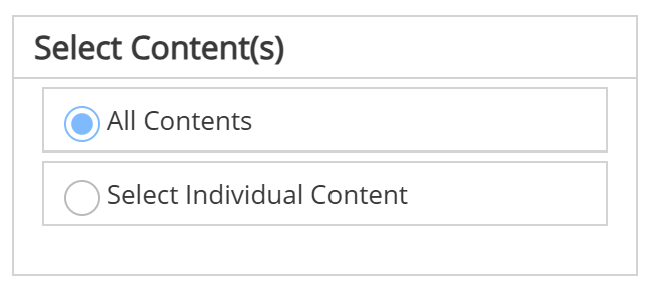
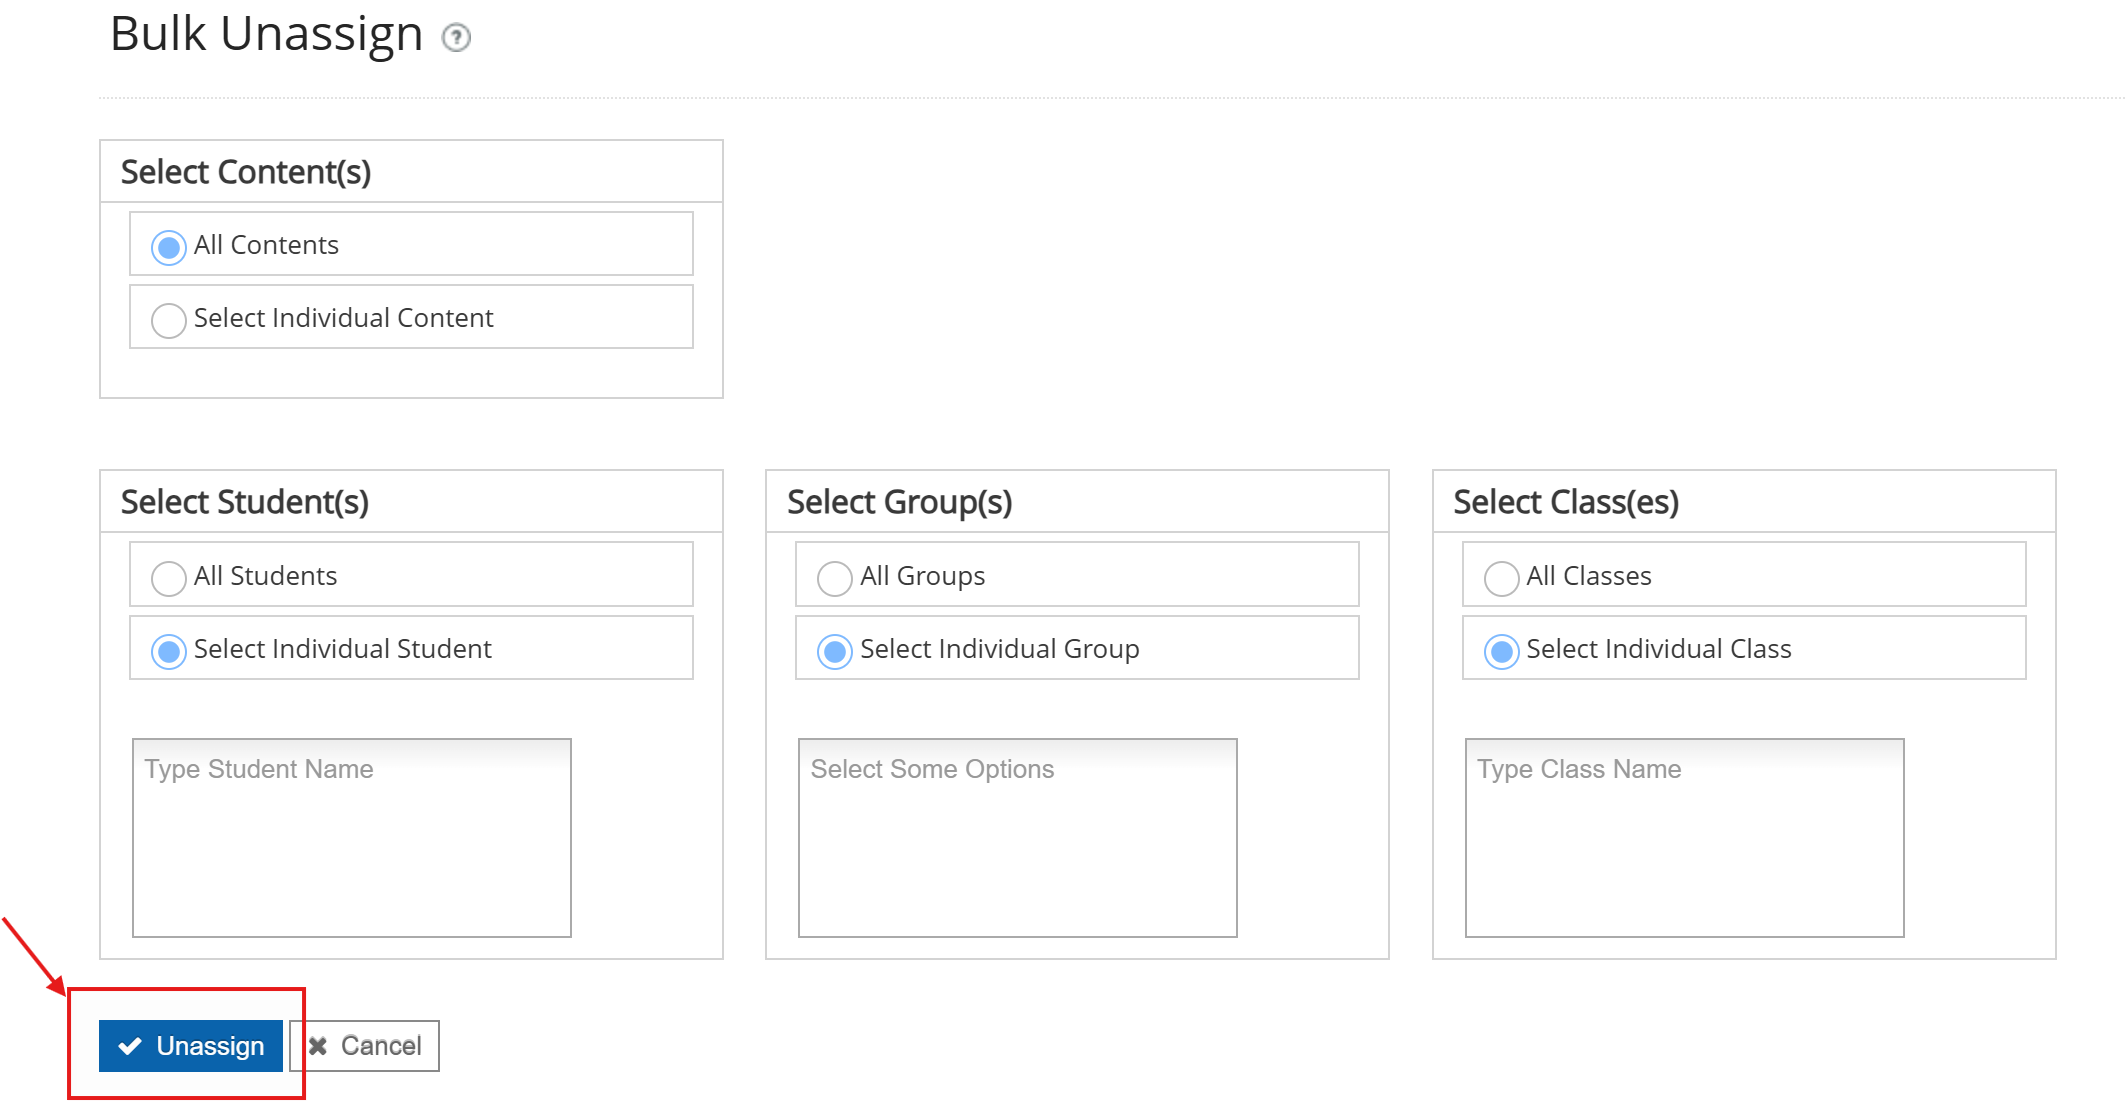
4. On the Bulk Unassign page, you have the option to unassign All Contents (books) or to Select Individual Content (a specific book):
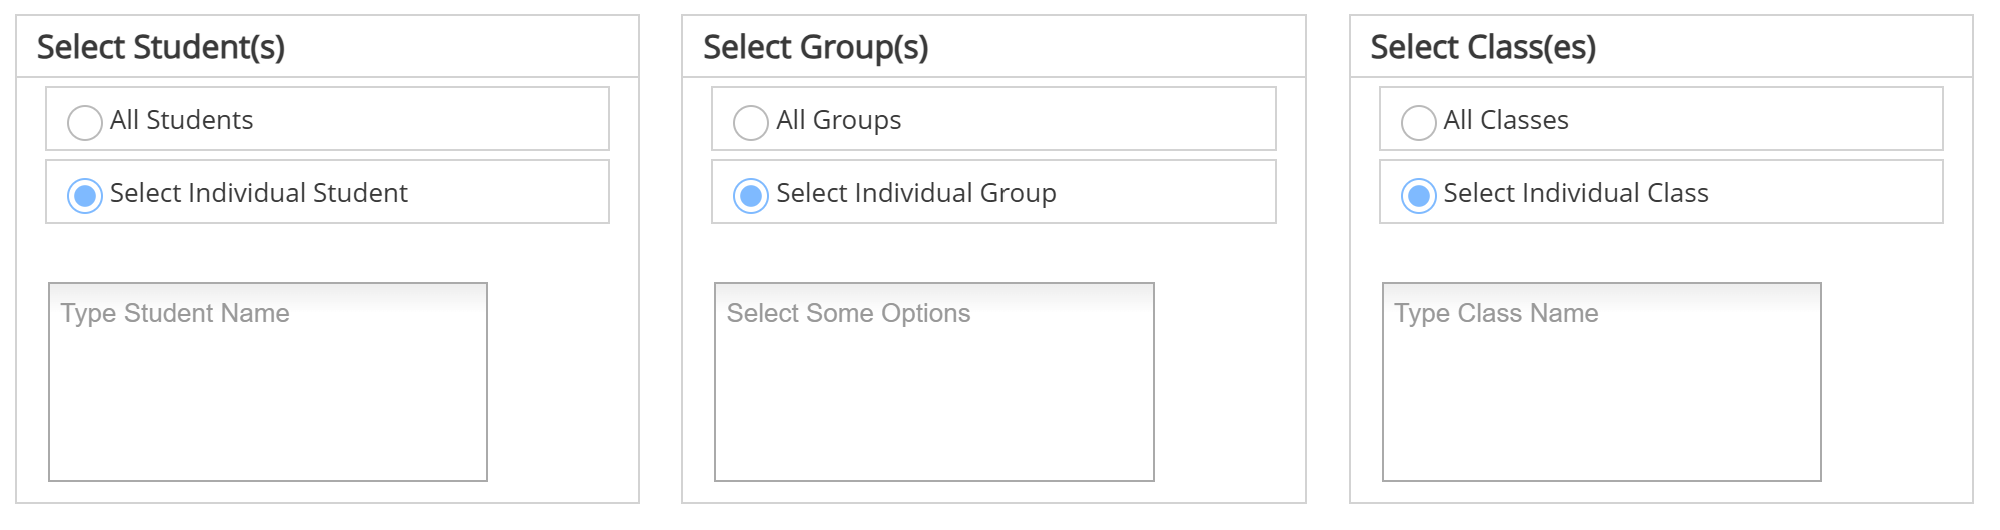
You can also choose to unassign the content(s) to Student(s), Group(s), or Class(es):
- Students
- Groups
- Classes
5. Click "Unassign" to complete the process.
Need help? ![]()
Remember, you can contact us this support form. We are here to help!
Related Articles
Assign/Unassign an Assignment - The KWL Hub
https://support.thekwlhub.com/en/articles/225-assign-unassign-an-assignment Assign an Assignment Once an assignment has been created, the teacher needs to assign it to their Class(es), Student(s), or Group(s). ❗ Note: If the assignments are not ...Creating an account with a Book Access Code (Teachers)
https://support.thekwlhub.com/en/articles/4-creating-an-account-with-a-book-access-code-teachers To create an account with a Book Access Code, visit https://klettlp.com/register.htm and complete the required fields: Email address ⚠️ Note: Double ...Teacher Guide: Accessing The KWL Hub via Google Classroom
https://support.thekwlhub.com/en/articles/15-how-to-access-the-kwl-hub-via-google-classroom Overview This guide for teachers describes how to sync your classes between Google Classroom and The KWL Hub. Prerequisites: Your school must have an active ...Creating a New Assignment in the KWL Hub
https://support.thekwlhub.com/en/articles/223-create-a-new-assignment There are two ways of creating assignments: from the "Assignments" section and from the Interactive Content: Creating Assignments from the "Assignments" Section Creating ...Teacher Guide: The KWL Hub and Canvas
Accessing the KWL Hub via Canvas Creating assignments with Canvas (Deep Linking) Importing Grades into Canvas Accessing the KWL Hub via Canvas 1. In Course Navigation, navigate to the Assignments tab. 2. Click on the assignment title "KWL Hub" or ...